Before you click away thinking this sounds too crafty, stick with me, I think your student's can gain a lot from basket weaving. Be warned this is photo heavy and I had a hard time with formatting. Because there are so many photos I am going to break this up into two posts. Part one setting up the base and "spokes" and part two the weaving and fun extras.
When I started in my current district I was bequeathed rolls and rolls of basket weaving reed and no bases. I had never woven a basket, and really I was not planning on teaching basket weaving. I felt basket weaving was the ultimate art class cliche... underwater basket weaving and such.
Then I learned one of my 7th grade student's was 100% blind and would NOT have an aid coming to art with him. Learning how to teach art to this young man, J, is a series of posts in itself. My goal that year was to make at least 50% of the lessons I assigned to the whole class also accessible to J. So my weaving unit was born and I decided that not only would I learn how to basket weave so that J could, but the whole class would learn.
Turns out I enjoyed basket weaving (and yes, J was quite adept at it), but also the rest of my middle school students enjoyed the process and grew as artists because of it. Yes as ARTISTS. I have learned that parts of basket weaving are messy and challenging. It is an skill that requires persistence, trial and error and patience. This is a lesson where, at some point, most of my student's want to give up but I insist they push forward and 90% of the time they ended up incredibly proud of themselves and their product.
I love going through the basket weaving process with my student's because it helps work on their patience and persistence with a tangible end result that makes parents, teachers and other students exclaim, "Wow you made that!?"
This year I went to a new school in the same district and low and behold stored away was a TON of basket weaving reed. This is a mini one session (maybe two if your classes are shorter) starter version of basket weaving. All you need is a one or two rolls of round reed. You can order it from
blick for pretty darn cheep, I think one roll of the 1/16th inch would easily cover a class of 25. I suggest getting thinner reed as it is easier to use. I have my student's make these mini baskets before they weave larger baskets.

You need a yogurt cut, a nail, weaving read (round), scissors, a marker and beads or RIT dye if you want.
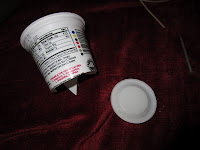
Cut the bottom off your yogurt cup make sure to keep it flipped so the "bottom" is down

With a marker draw an odd number of dots as evenly spaced as you can...5 is the minimum and I would say 11 is the max

Use a large nail (or a hole punch) to poke a hole at each dot. Make sure the holes are not too close to the edge.

figure out how many holes you are punching and divide it by two. Then cut that number of reeds about two feet long and one reed about one foot long. The longer reeds will basically be folded in half.

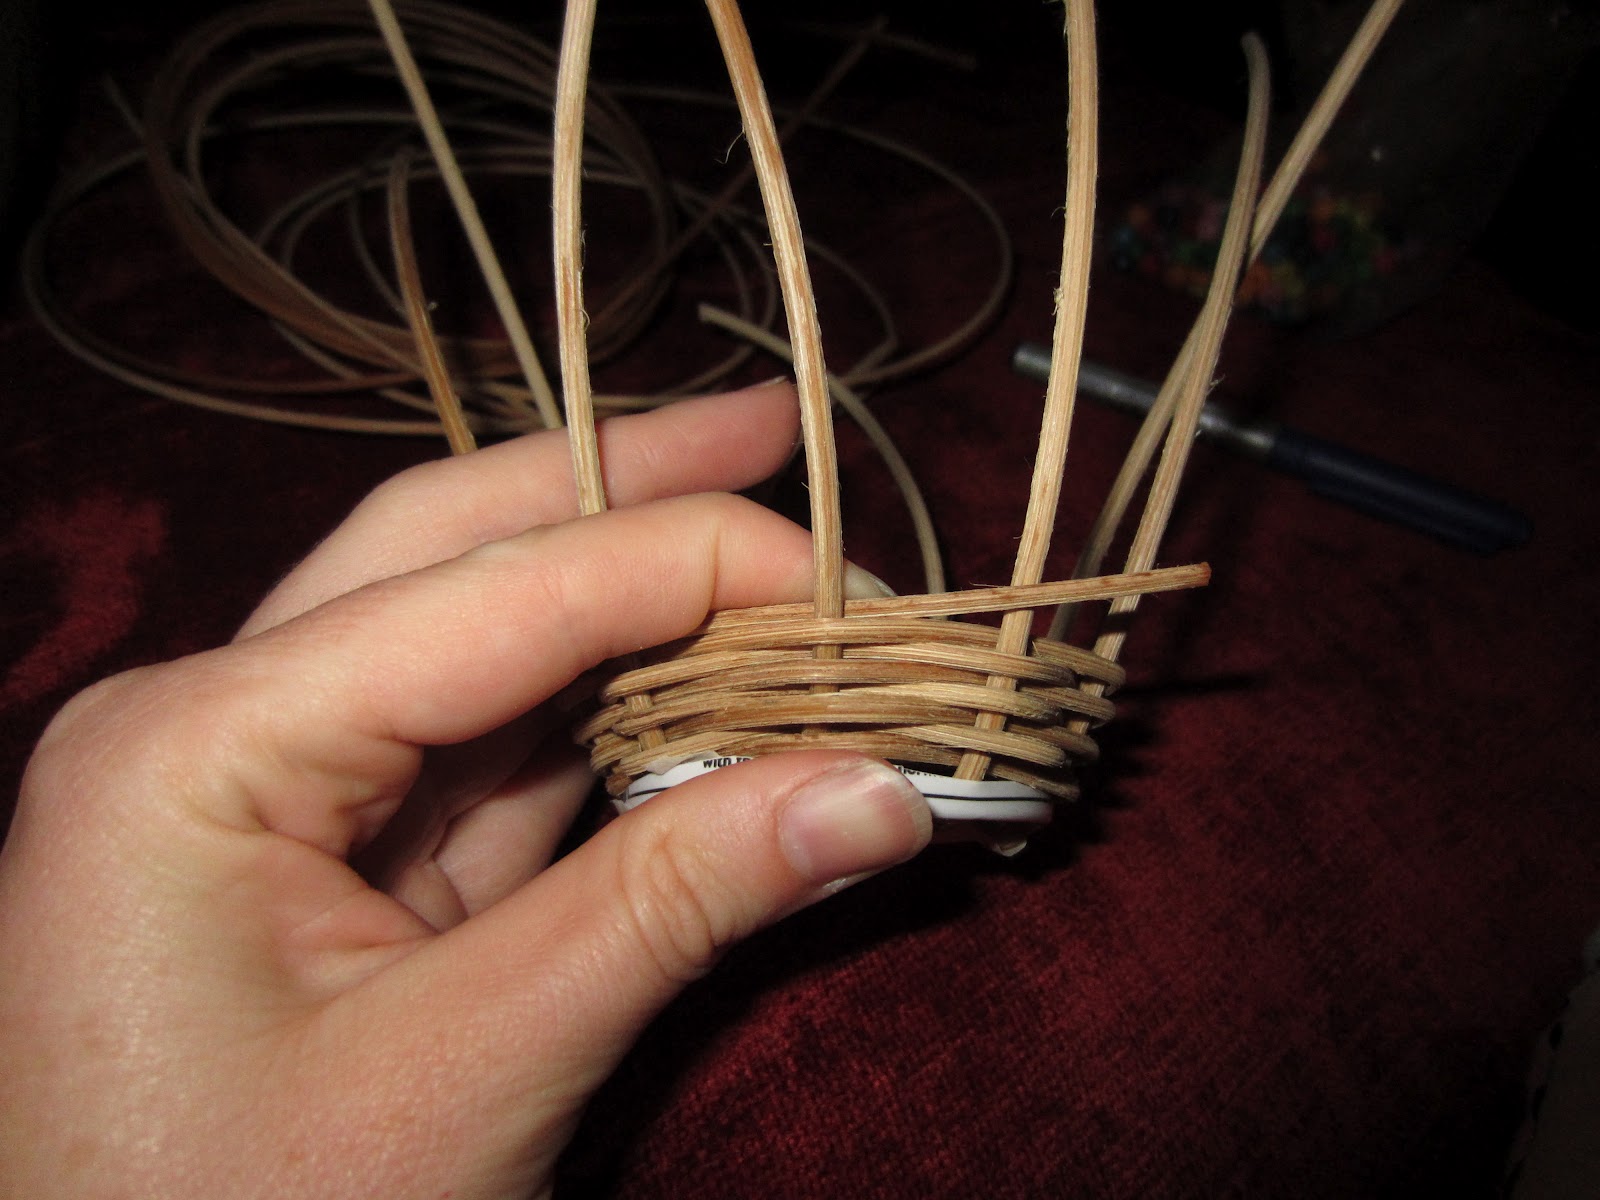
Thread the long reeds into the adjacent holes keeping the bottom of the cup still the bottom

This is what it looks like from the top

In this photo I have threaded all of the long reeds and then put the "short" read through our odd remaining hole leaving a inch or so hanging out of the bottom

and here we have a top view...the kids say it looks like and octopus at this point

we are looking at the bottom again. I have my students use a piece of duct tape to take down the "tail " of our shorter reed and then write their name on the tape
Ok next post will be the steps to actually weaving the basket!